
Mudroom
After our second kiddo came into the picture, we quickly realized our home needed some serious organizing. You know how it is, right? The mudroom turned into a busy hub with constant back and forth—doctor’s appointments, grocery runs, you name it. Winter was the worst; trying to wrangle the boys into their coats and shoes was like herding cats!
We were desperate for a spot to stash all our seasonal gear—coats, hats, the works—and of course, a hang-up spot for daily stuff like jackets and bags. And shoes? Well, we're a shoe-free household, so you can imagine the pile-up by the door.

The space we're working with isn’t massive, but it’s got potential, especially upwards, thanks to our 10-foot ceilings on the ground floor.

THE DESIGN
Here’s the game plan: we'll have shoe storage at the bottom with personal cubbies for each of us. A bench above that for sitting while we shoe-up or just to drop things off in a hurry. Up top, we're looking at storage bins for the small things and cabinets to hide away the seasonal clutter. I’m also thinking some cool LED lighting under each shelf—gotta love a little drama and visibility, right? And for that cozy, modern farmhouse vibe, we're lining the walls with shiplap—super durable and stylish.

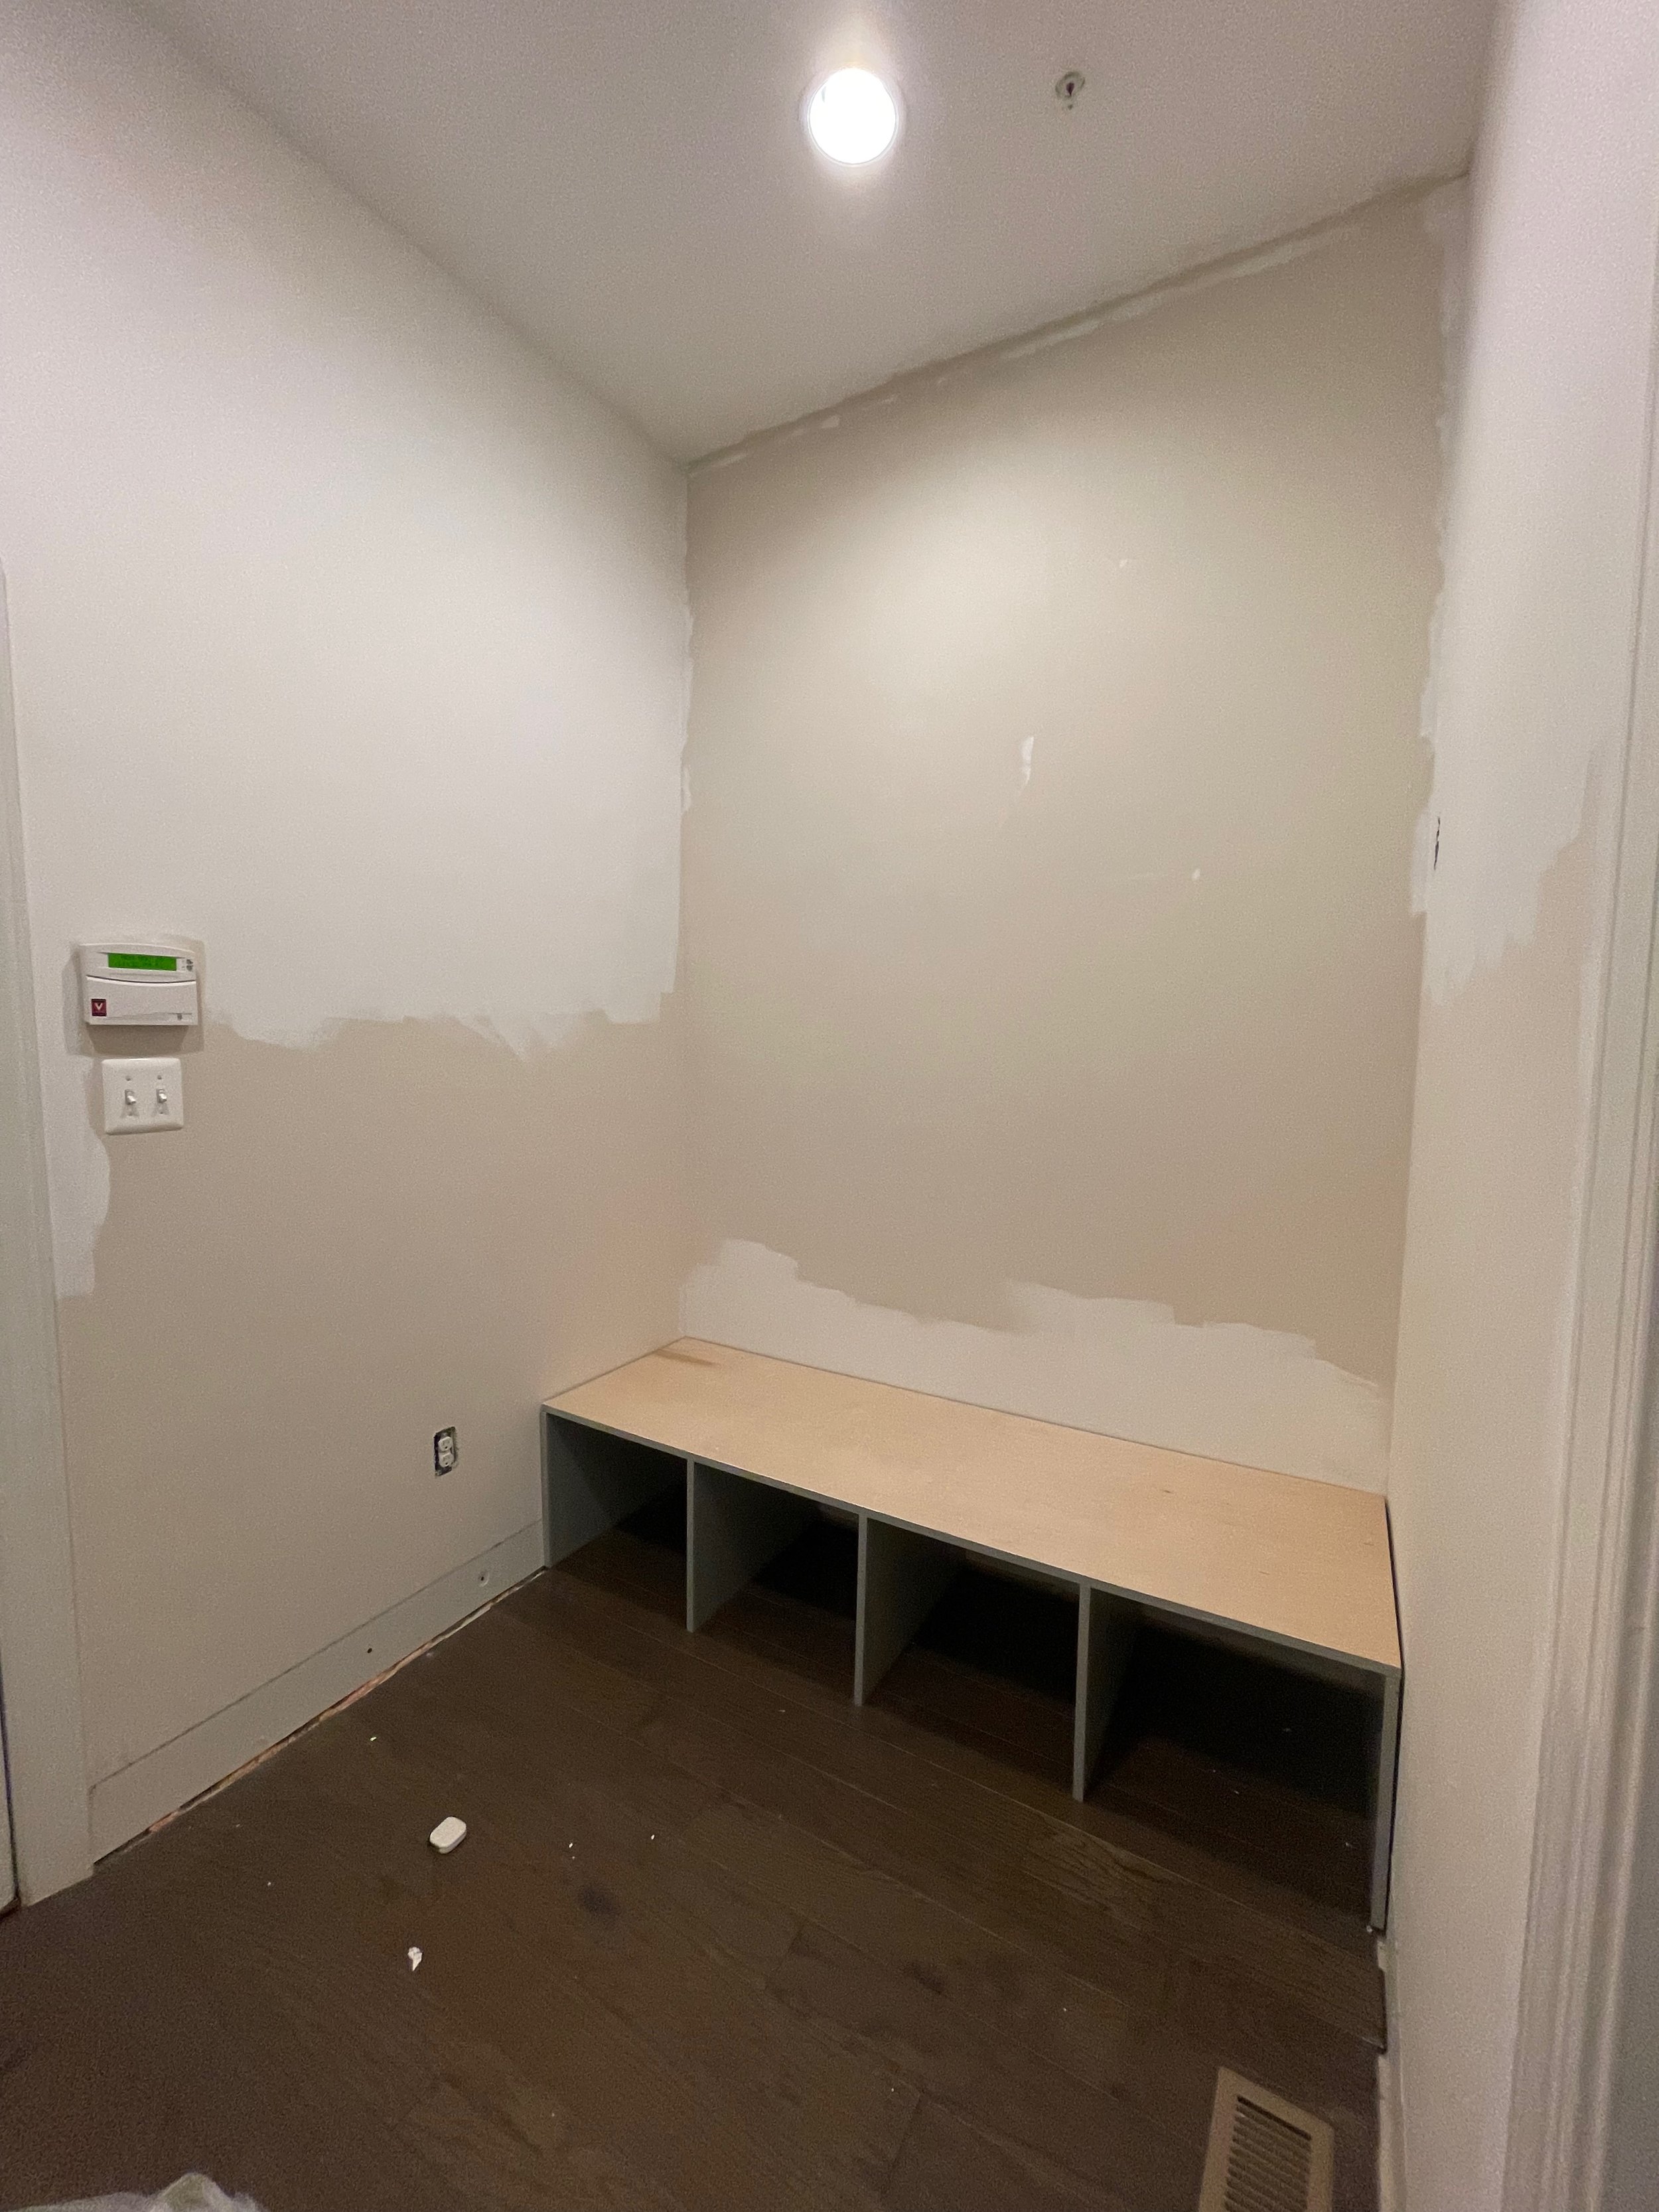
THE RENOVATION
First thing's first: ripping out the old baseboard to make way for a fresh, modern 6-incher. Thanks to Ana White and her Shelf Help, I've got all my shelving cut to size, and I’m jazzing it up with my own trim, so no need for the edge banding they sent. Unfortuately, they no longer offer shipping their wood pieces anymore, but their 3D shelf builder is still very helpful.
The bench build was up first. I painted it before putting it in place—it just made more sense that way. I have to say, the pocket jig was a total lifesaver here.
Now, painting isn’t exactly my forte, so to save myself a headache, I snagged the upper cabinet doors ready-painted and just matched the rest of the paint job to them. Choices were slim, but I settled on a classy, neutral gray. These were the upper cabinets I got: Home Depot Cabinets

With the pieces ready to rock, I got busy with the upper part while the bench got its final coats. To keep everything sturdy, I added some planks underneath before shifting it all into place.


The benchtop was a labor of love. Picked up a butcher block, rolled up my sleeves, and got busy with the polyurethane. Eight coats and a lot of patience later, it was smooth as silk. Here is where I got the butcher block and this is was I used for the polyurethane.

Electrics were up next. Had to rig up the LED lighting before the upper shelves went in, running wires from the outlet to a new switch, then to the transformer. Thank goodness for shiplap hiding all that handiwork.

Slapped the shiplap on the wall, mounted the shelves with L-brackets, and set the upper cabinets on spacer strips so they'd line up just right with the shelves. It’s solid as a rock now.


Check out the night view! The Armacost LED setup really shines—literally. And with the Lutron system, it's like magic; lights up when I walk in and dims down after I leave. Handy, right?

THE REVEAL
So here's the big reveal: the shiplap's got a fresh coat of Behr’s Polar Bear white—picked up from Lowe's. The trim? Same place. The custom gray? Props to Benjamin Moore for nailing the color match. And those sleek black pulls and hooks, plus the bins? All found the perfect home from The Container Store.
It was quite the project, but, man, the payoff? Huge. Now, everything’s got its place, and getting out the door isn't a battle anymore. What a difference a little DIY can make!
